Tuesday 17 December 2013

Hazelnut Panna Cotta with Raspberry Coulis

The other dessert I prepared for my friend's Christmas party was this pana cotta. As usual I added some booze to make it suitable for the festive table:) The raspberry coulis is quite concentrated on the plate, so it may seem a little dark, but it tasted divine - just some sharpness to compliment the hazelnut's sweetness.

Hazelnut Panna Cotta with Raspberry Coulis


For the panna cotta enough for 4 dariole moulds
3 gelatine leaves
200 ml milk
300 ml double cream
25 g sugar
60 ml Soplica Hazelnut ( it is a Polish Hazelnut vodka -36%, but it is the liquefied version of the Nutella:))
1 vanilla pod
1 heaped tbsp Nutella

For the raspberry coulis
15 g butter
60 g sugar
180 g raspberries
juice of 1/2 lemon

Soften the gelatine leaves in cold water.
In a heavy based saucepan, mix the milk, cream, sugar and gently simmer. Remove from the heat add the Nutella, vanilla seeds, gelatine leaves and Soplica to taste.

Stir until the gelatine has dissolved and pour into dariole moulds. Leave to cool, then place them into the fridge to set.

To make to raspberry coulis, place the butter and sugar in a saucepan over a gentle heat and allow the butter to melt and sugar to dissolve. Add the raspberries and lemon juice and cook for 4-5 minutes. Remove from the heat and pass through a sieve. Allow to cool.

When the Panna Cotta is set (about 4 hours in the fridge), turn them out onto individual serving plates and spoon raspberry sauce all around. You can remove the excess liquid from the panna cotta if you wish...but I didn't want to waste any good part of it. 

Sunday 15 December 2013

Mocha Pots

We were invited for a Christmas party and was asked to supply the desserts. I wanted something new, refreshing, simple and quick dessert and I think I find the perfect one - of course only, if you like coffee. You can prepare this dessert in less than 15 minutes and it is delicious.

Mocha Pots

Ingredients to fill 4 ramekins
75 g good quality dark chocolate (min 65- 70% cocoa solids) broken into pieces, plus a little extra shaved with a potato peeler
12 g butter
2 large eggs at room temperature
40 g caster sugar
2-5 tbsp strong expresso (to taste)

100 ml double cream - to decorate
chocolate coated roasted coffee beans - to decorate - optional

In a bowl set over a pan of simmering water, melt the chocolate with the butter, stirring until smooth. Set aside and leave to cool to room temperature.

Meanwhile place the egg whites with a pinch of salt in a bowl and whisk until stiff peaks from. Whisk in the sugar, 1 tablespoon at the time until the mixture is stiff an shiny.

Stir the egg yolks into the cooled chocolate mixture one at the time. Fold the egg-white mixture into the chocolate mixture a big spoonful at a time, then stir in the coffee( add half of the coffee to the mixture and taste....if you don't think it is "coffeey" enough add some more- you don't want the coffee to overpower the dessert but you want that nice coffee taste as well as the chocolate one).
Spoon the mixture into the ramekins or small cups, leaving room for some whipped cream.

Place the cream in a bowl and whisk lightly for 1-2 minutes ( you don't want stiff whipped cream texture, but we need to add some "body" for the cream). Spoon the cream over the top of the mocha pots, then wrap them in cling film or foil and place them into the fridge.

It is suitable to be placed into the freezer as well if you wish-> if you freeze it: To serve defrost overnight in the refrigerator then decorate with chocolate shavings and chocolate covered roasted coffee beans.

Saturday 23 November 2013

Gingernuts

My husband commissioned me to bake a ginger biscuit to have a home made alternative to his favourite teatime treat. He loved it when it was still fresh and crunchy, but I loved it when it became soft after 4-5 days in the biscuit tin.

Gingernuts 


Ingredients
350 g self-raising flour
pinch of salt
200 g caster sugar
2 tbsp ground ginger
1 tbsp chopped steamed ginger
1 tsp bicarbonate of soda
125 g butter
75 g golden syrup
1 egg, lightly beaten
1 tsp grated orange rind

Preheat the oven to 160C and lightly grease several baking sheets.

Sift together the flour, salt, sugar, ginger, steamed ginger and bicarbonate of soda in to a large bowl. Heat the butter and golden syrup together in a saucepan over a very low heat until the butter has melted. Leave to cool slightly, then pour it onto the dry ingredients. Add the egg and orange rind and mix thoroughly to from a dough.
 
Using your hands, carefully shape the dough into 30 even sized balls.
Place the balls on the baking sheets, spaced well apart, then flatten them slightly with  your fingers.
 
Bake in the preheated oven for 15-20 minutes, then carefully transfer the biscuits to a wire rack to cool.

Tuesday 12 November 2013

Apple Gingerbread

I am now in a full on festive mood. So the second bake I prepared for the winter period is this easy tray bake. Smells lovely, taste delicious and easy to make, so all you can ask for when you have to rush round to do everything before the guests arrive.  This recipe from the 1001 Cupcakes and cookies book.

Apple Gingerbread

 
Ingredients
150 g butter
165 g soft brown sugar
2 tbsp black treacle
225 g plain flour
1 tsp baking powder
2 tsp bicarbonate of soda
2 tsp ground ginger
1 tsp ground cloves
150 ml milk
1 egg, lightly beaten
2 dessert apples, peeled, chopped and coated with 1 tbsp lemon juice

Preheat the oven to 160C and line a 23cm square cake tin with baking paper.
Place the butter, sugar and treacle in a saucepan and heat gently until the butter is melted, then leave to cool.
 
Shift the plain flour, baking powder, bicarbonate of soda ground ginger and ground cloves into a large bowl. Stir in the milk, egg and cooled buttery liquid. Pour the mixture into the tin and spread the apple pieces equally on the surface and smooth the surface.
 
Bake in the preheated oven for 35-40 minutes, or until the cake has risen and a fine skewer inserted into the centre comes out clean. Leave the cake to cool in the tin before turning out and cutting into 12 bars.

Sunday 3 November 2013

Lebkuchen Mézeskalács

Recently I started baking again and with the clock change and the miserable windy, wet weather inspired me to bake more and more Christmas goods. I found my old recipe cards I got from my auntie and just the kind of recipe I was after: Lebkuchen. The recipe I got is the one without butter making it lighter and less sinful.
 

Lebkuchen - Mézeskalács

 
Ingredients (makes about 35)
zest of 2 lemon -finely chopped
50 ml Kirsch
2 eggs
50 g honey
200g muscavado sugar
1/4 teaspoon of cinnamon
1/4 teaspoon of ground ginger
1/8 teaspoon of cloves
1/8 teaspoon of nutmeg
1 pinch of black pepper
1 vanilla pod
50 g ground almond
300 g self raising flour
1/4 teaspoon of baking powder
 
80-100g icing sugar to cover the surface
 
 
Place the zest of one lemon in the Kirsch and leave it to soak for 20 minutes.
 
Preheat the oven to 200C and line two baking sheet with baking parchment.
 
Beat together the eggs and sugar together until light and fluffy. In a separate bowl mix together all dry ingredients then add in the egg mixture lemon zest, Kirsch and honey. Form a nice dough and shape it to a 5cm thick big "sausage".
 
Cut it to small pieces and form 2cm small balls with the palm of your hands.
Place them on a baking tray (leave some spaces in between) and bake it for 15-20 minutes.
 
When it is ready take them out of the oven and roll it in icing sugar while still hot.
Leave it rest until next day to soften a little.


Sunday 20 October 2013

Flódni / Apple, poppy seed and walnut pastry

Baked goods are quite popular in Hungary if it contains walnut, poppy seed or apple, never mind if all three are on the ingredient list. The other good thing about this pastry that you first have to assemble it and then bake it, so although it has 4 layers it doesn't require to bake 4 separate layers. The recipe also stated that you have to put in 300 ml white wine, but you can't really taste it in the end- I think it is more for the texture, consistency than for the taste.

Flódni / Apple, poppy seed and walnut pastry

 
For the pasty:
500 g plain flour
250 g butter on room temperature
100 g icing sugar
3 egg yolk
100 ml white wine
 
For the apple filling
800g sharp apple
2 tbsp honey
lemon to taste (approx. 1/2 - 1 lemon)
cinnamon and ground cloves to taste
 
For the poppy seed filling
200 g ground poppy seed
100 g sugar
50 g sultana / currant
100 ml white wine
 
For the walnut filling
120 g ground walnut
80 g chopped walnut
100 g sugar
50 g sultana / currant
100 ml white wine
 
egg wash
 
 
Preheat the oven to 170C and line a 19X25cm rectangle pan - leave the baking paper longer on the sides, so after baking you can lift out the pastry.
 
Rub the butter into the flour, add in the eggs, sugar and white wine. Form a dough then wrap it in cling film and rest it in the fridge until you prepare the fillings.
 
Peel  and core the apples then grate them. Add in the honey, lemon juice, cinnamon and cloves to taste.
 
Mix the grated poppy seed with the sugar and sultanas. Heat 100ml white wine to boiling point and pour it on top the poppy seed mix.
 
Mix the grated walnut with the chopped walnut sugar and sultanas. Heat 100ml white wine to boiling point and pour it on top the walnut mix.
 
Divide the pastry to 4 equal parts and on a floured surface and roll out  to the size of the pan. Put one pasty layer it into the tin and top it with the poppy seed filling.
 
Level the poppy seed filling and top it with another pastry layer, then walnut filling, pastry, apple filling and finish it off with a pastry layer. Prick the top of the pastry with a fork and brush it with egg wash.


Bake it in the oven for 60-70 minutes or until it has a nice golden colour.
When it is completely cooled, lift out from the pan (or if you manage to rip off all the baking sheet like me, just put a chopping board on top- turn it up side down, than another board on it and flip it back. It is quite a sturdy bake so it will keep its shape).
 
Slice it and serve it with icing sugar and a whole walnut piece for decoration if you like.


Saturday 12 October 2013

Somloi Sponge Cake - Somlói Galuska

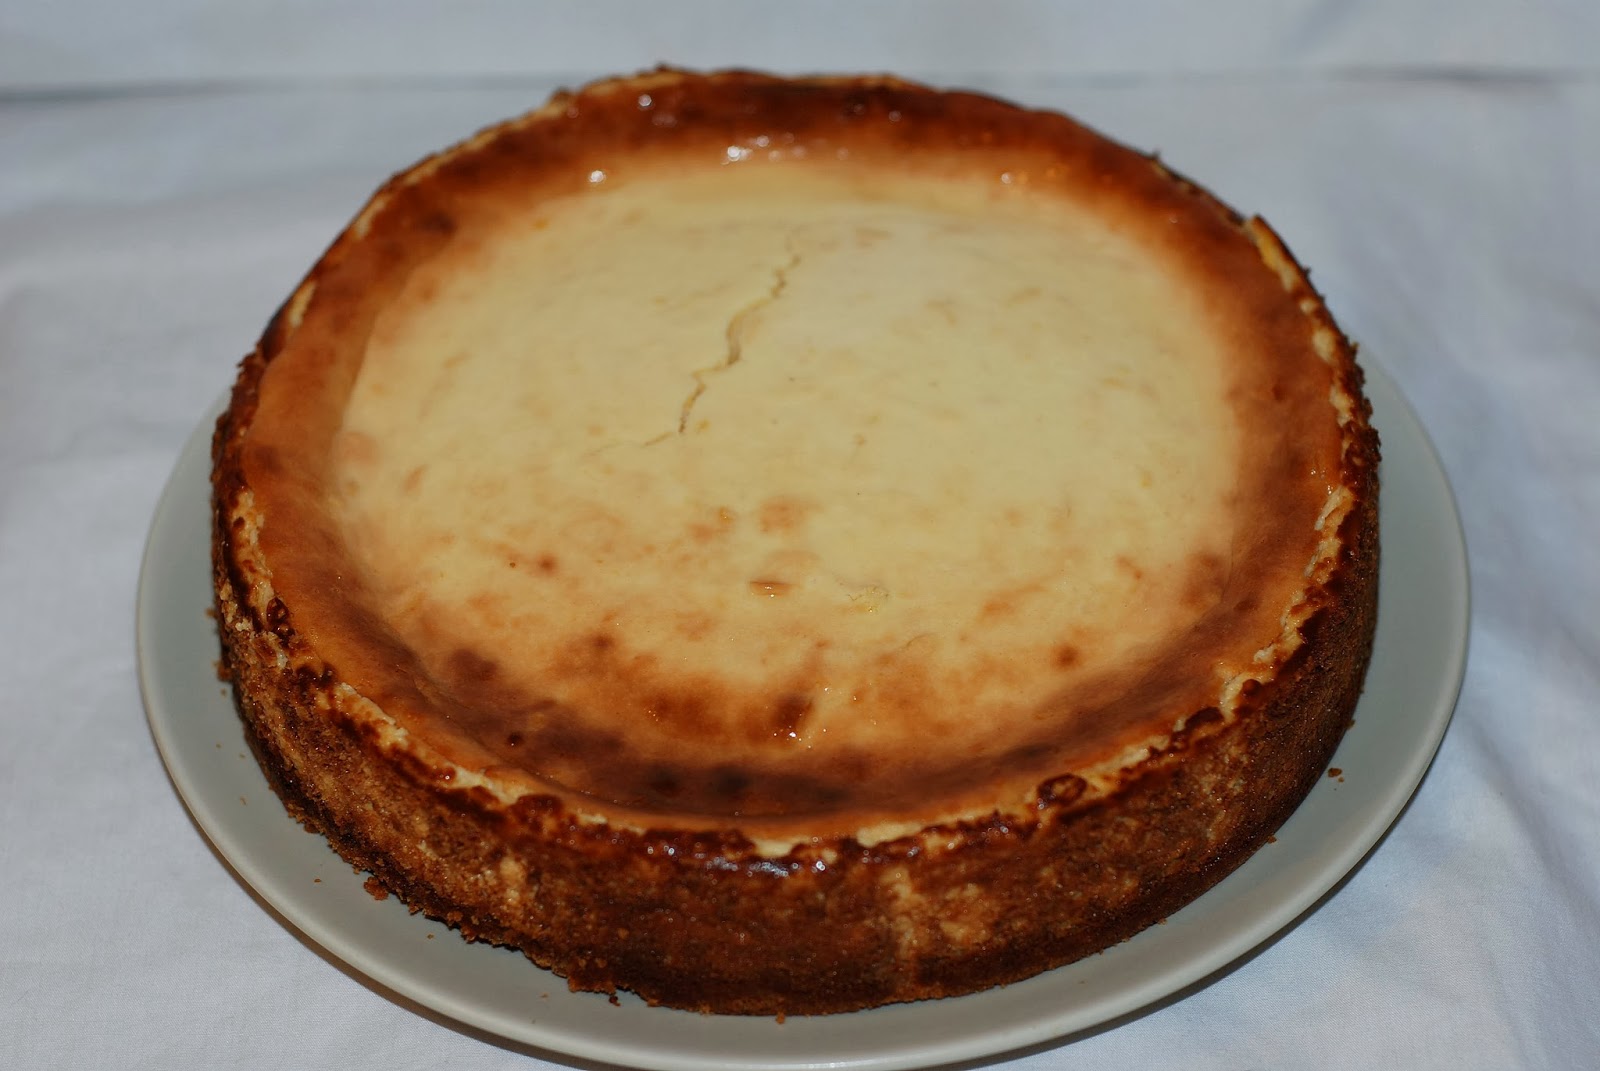
This is a traditional Hungarian recipe and my husband's favourite. It is quite simple to make, but time consuming, so I only treat him to this on his birthdays. It basically consists of 3 layers of sponge(walnut, chocolate, vanilla) soaked with rum, layered with vanilla cream and grated walnut, served with chocolate sauce and whipped cream. Yeah you got the idea, it is really rich, but soft and refreshing dessert. There is no set of shape how to serve, so please excuse my presentation.
 
Somloi Sponge Cake - Somlói Galuska

 
Ingredients
For the sponge
6 eggs
6 tbsp granulated sugar
6 tbsp plain flour
2-3 tbsp grated walnut
1 heaped tbsp shifted cocoa
 
For the soaking liquid
zest of 1 lemon
100g sultanas/currants (or some more if you like)
100g granulated sugar
200ml water
3-6 tbsp Rum
 
For the vanilla cream
3 eggs
80g sugar
2 pack of vanilla pudding powder *check Tricks and Recommendations for this ingredients
seeds of 1 vanilla pod
800ml milk
 
Sprinkle ingredients
100-200g grated walnut -depends on your taste
cocoa powder
 
For Serving
dark chocolate
double cream
whipped cream 
 
 
I only had a 19X25cm rectangle tin therefore I had to add some extra height (with the help of some plastic sheets and baking paper). So if you have a slightly bigger baking tin that would be an advantage:)
 
Preheat the oven to 180C and prepare the tin with baking paper.
For the fat less sponge separate the eggs and whip the egg whites with an electric mixer to hard peaks with a pinch of salt. Without stopping the electric mixer add gradually the egg yolks and sugar. With a silicone spatula very carefully fold in the shifted flour in two batches.
If you mix it too hard you knock out all air you built in with the electric mixer.


When it is done divide the mixture to 3 equal parts. The first plain sponge can go straight to the pan, bake it for 8-10 minutes until it has a nice colour.
In the meantime fold the grated walnut to one sponge mix and the cocoa to the other. Bake both after each other for 8-10 minutes then leave them to cool on a cake rack.
 
For the soaking liquid heat the sugar and water together to boiling point. Take off from the heat, add the currants and lemon zest. When it is room temperature add some rum to taste (if you add the rum while the syrup is hot the alcohol will evaporate-and we don't want that:)).


For the vanilla cream mix the yolks, sugar, vanilla seeds and pudding powder in a bowl with 100 ml milk to get lump free mixture. Place the remaining of the milk in a heavy based pan above medium heat. When the milk is about to boil add in the sugary mix and keep whisking until it reaches a thick custard like consistency. Take off from the heat and whip the egg whites in a separate bowl to hard peaks. Fold the egg whites into the vanilla cream (not all in one go)- this lightens the cream and add some extra volume to it.

 
Now you can start assemble the dessert:
There are 3 layers, so use roughly 1/3 of each ingredient. Sometimes I have some left over vanilla cream or soaking liquid.....well it was never wasted (at this point you can see my DIY height solution is needed)
 
-walnut sponge->soaking liquid with the currants->grated walnut->vanilla cream
-chocolate sponge->soaking liquid with the currants->grated walnut->vanilla cream
-vanilla sponge->soaking liquid with the currants->grated walnut->vanilla cream
 -finish it with cocoa powder on top
 
Place it into the fridge for overnight so all layers can absorb the syrup.
 
 
To serve, cut some reasonable sized slices, pour "some" chocolate sauce around it (add the dark chocolate to warm double cream- sorry I don't have a recipe for this, it is pretty straightforward) and add some whipped cream on top. Enjoy!!!!


Baked Lemon Cheesecake

I always wanted to make a baked cheesecake, so when we invited some guests the last time the time was right. As the dinner was quite heavy, I wanted something light and delicate. Well it isn't the lightest dessert, but it tasted divine (also it is quite easy to make). I found a recipe on the BBC Goodfood website, but I slightly had to modify it to my taste.
 

Baked Lemon Cheesecake

 
Ingredients
260g digestive biscuit
120g melted butter
 
600g light soft cheese/cream cheese
250g mascarpone
2eggs
2egg yolks
zest of 4 lemons
juice of 2.5 lemons
4 tbsp flour
150g caster sugar
 
few spoonful of cream fresh/soured cream
few spoonful of lemon curd
handful of blueberries
 
 
Heat the oven to 180C and line the bottom of a 23cm spring form tin with baking paper. Crush the biscuits to crumbs and work it together with the melted butter. Press the biscuit paste into the bottom of the pan and place it to the fridge while you prepare the filling.


Whisk all the other ingredients in a large bowl until completely combined, pour into the tin, then bake for 35-40 minutes. Turn off the oven and leave the cake inside until cool.
 
 
 When it is completely cooled remove from the tin and top with cream fresh, lemon curd and blueberries if you like. You can keep the cake in the fridge if you want a cold dessert summer time.


Friday 6 September 2013

Chocolate Marquise 3 ways

I haven't posted for a long time...........to be honest I was/am on a diet as the scale went way beyond "normal". But now that I shed off a few pounds I am back baking:) I used my new Cube cake mould to create something truly delicious. I used 3 different fillings and all guests were delighted. Maybe I should have been more careful when I turned out the mousse from the mould as it chipped off at few pieces but I haven't heard any complain from the dining room:)

Chocolate Marquise 3 Ways


Chocolate Cake Base
100 g dark chocolate (minimum 65% cocoa solids)
50 g butter 
2 eggs
90 g golden caster sugar
50 g plain flour
1/2 tsp baking powder

Chocolate Mousse
200 g good quality dark chocolate (minimum 75% cocoa solids)
100 g good quality milk chocolate
4 eggs separated
150 ml double cream 

To fill/decorate (all optional)
150 ml double cream
handful of strawberries
few spoons of strawberry jam
1/2 bottle sour cherries
2-3 tbsp Kirsch
100 ml custard

Preheat the oven to 180C and place the stainless steel square part of the cake mould to a baking sheet, lined with baking paper. Spray the sides with vegetable oil based release agent.

Melt the butter and the chocolate together in a bowl set over a pan of simmering water then leave it to cool. Whisk the eggs and sugar together until the mixture is pale and thick. 
Add the room temperature chocolate mixture into the egg mixture then fold in the flour and baking powder. When you mixed everything together pour this thick batter into the prepared frame and spread evenly.


Bake for 15-20 minutes or until the top is cracked but the middle just set. When ready remove the stainless frame and leave it to cool completely.

To make the mousse, melt the two chocolates in a bowl over a saucepan of simmering water,  leave it to cool to room temperature. Whisk the egg whites to firm peaks and set it aside.
Whip the cream very softly and add the yolks, then gently mix in the cooled melted chocolate. Gently fold the egg whites into the chocolate mixture, (thoroughly but don't overwork it).


Spoon the mousse into the prepared tin (spray the Zila cake mould with vegetable oil based release agent) and gently tap it to the work surface. You don't want to knock out all the air bubbles you just created, but you have to make sure the mousse is evenly spread so you don't have gaps at the finished mousse surface. 


Level the sponge with a cake leveler and place it on the mousse. (top of the sponge will hang above the side of the mould but it is fine). Cover it with kitchen foil and put it in the fridge and leave it to chill for at least 4 hours (I left mine for overnight). 


When it is rested, turn it up side down and gently remove the silicon part of the mould and the stainless steel rim. I slightly damaged the finished product, but next time I will put the mousse into the freezer just before removing the mould to make easier the seamless separation.


The choice filling is down to you. I used custard (have to admit it was fresh-shop bought one.....I had other cooking to do as well and run out of time), sour cherries that I soaked in Kirsch for overnight than adding gelatine to the juice I turned it to a soft jelly. For the last one I used fresh strawberries and some strawberry jam(home made). Decorated all with whipped cream, fruits and vanilla pod.


 The best is when you dive into a cube and all the custard pours out......................YUMMIE


Monday 8 July 2013

White Chocolate and Strawberry Celebration Cake

Again I am a year older.... yet another year passed. I haven't baked for a while, as I am on a diet and I don't have the same desire to bake as before. I had this before....a few months and it will pass, and I bake like crazy again. I think it is down to the "good" weather (as good as it can be in UK), so I rather spend my time outside, than in the dark kitchen. Ever since I did my Chocolate Fingers Celebration Cake, I wanted to do the "White" version. So here it is, for my work colleagues pleasure: my birthday cake.

White Chocolate and Strawberry Celebration Cake 

with white chocolate covered biscuit fingers


For the sponge
220 g self-raising flour
220 g butter at room temperature
220 g golden caster sugar
1 1/2 tsp baking powder
4 large eggs
50 g dessicated coconut

For the cream 
500 g mascarpone
200 g white chocolate

For the topping
1-1.5 kg strawberry (we picked them from a PYO farm, so they don't cost a fortune)
3.2 boxes of Cadburry dream fingers

For the decoration
some red ribbon
3 pearl headed pin

Heat the oven to 180 C and prepare a 19 X 25 cm rectangle cake tin.

Put all the cake ingredients in a  large bowl. Beat them together with an electric mixer until you have a creamy mixture, then fold in the poppy seed.

Pour the cake mix into the prepared tin and bake in the oven for 20 -25 minutes or until the sponge springs back when pressed. When it is ready, leave it to cool down completely then with a cake leveler divide the sponge to 3 equal parts


Mix the mascarpone with the melted white chocolate with a mixer. Wash and slice the strawberries (slice enough strawberries for two layers in between the sponges, and quarter/halve the rest for the top).

Spread 1/3 of the cream on the sponge than arrange the strawberry slices on top - repeat the process with the remaining of the sponges. Cover the side of the cake with the cream (this will act as a glue) and arrange the chocolate fingers around.

When finished cut a long enough ribbon to cover the cake and secure in the middle with two pearl headed pins (I use them as they are easy to remove and they are noticeable! but as you insert them into the cream please clean them before use).

Cut a smaller piece of ribbon and make a bow, inserting the pin in the middle (from the middle) - I hope this make sense. When finished place the bow on top of the ribbon ends- secured with the pins.

Arrange the strawberries carefully on the top ( as the cream is still soft it doesn't hold the fingers  perfectly  on place yet). 
Refrigerate for at least 2 hours, and keep it in the fridge in between consumption.


Monday 20 May 2013

Pina Colada Cake

 I saw a pina colada cake recipe in my new book. I loved the idea (coconut, rum, pineapple) but I didn't like the recipe-sorry author. The cake was a simple sponge, with buttery-sugary cream....aghhh
So I made my own version, because  I also think that in order to call a cake a boozy cake you need more than 2 tbsp alcohol in it. The end result was fab (and incredibly easy to make), one of my favourite cakes I ever made...it is in my top 3.

Pina Colada cake


For the sponge
200 g self-raising flour
210 g butter at room temperature
200 g golden caster sugar
50 g dessicated coconut
1 1/2 tsp baking powder
4 eggs
1-3 tbsp milk

For the cream
250 g mascarpone
125 g cream chese
150 g melted white chocolate
40 g dessicated coconut
1-3 tbsp white Rum/Malibu

Filling
1/2 pineapple
3-5 tbsp dark Rum
1 tbsp dark muscovado sugar


Slice the pineapple to small pieces, coat it with the muscovado sugar and rum and place it to the fridge. Leave to absorb the alcohol for at least 6 hours, but preferably overnight.

Preheat your oven to 180C and prepare a 23 cm round tin with baking paper.Put all the cake ingredients in a  large bowl. Beat them together with an electric mixer until you have a creamy mixture and add milk as needed.

Pour the cake mix into the prepared tin and bake in the oven for 20 -25 minutes or until the sponge springs back when pressed. Leave to cool completely than cut the cake in half with a cake leveler.


For the cream, put all the cream ingredients in a bowl and mix it with an electric mixer. That's it:)

Put 2/3 of the cream in between the sponge layers and all the pineapple except a handful that you can reserve for the top decoration. Leave it to rough, I love the rustic look of it.
Place the second sponge on top and cover it with the rest of the cream and pineapples.
Keep it in the fridge, but remove it 20 minutes before consuming.

Saturday 4 May 2013

Ultimate Chocolate Cake

This was the chocolate cake I made for my boss who is now off to get married next weekend. I baked a chocolate cake (his absolute favourite) and a Lemon Curd filed Zila Cubes cakes. The Zila cakes were the perfect start of the morning (as it was conveniently sliced) before we dig in the oozing chocolate mountain. I took the recipe from the BBCgoodfood (Angela Nilsen) website as it had over 800 positive ratings, so I thought it must be good.........and ohh my God how good it was. I only changed the cream and made a 10% bigger cake so it would be a nice size in my rectangle tin (I found the rectangle shape better for he office cake sharing/it is easier to divide and share). Oh I made a poor attempt to replicate my boss and his fiancee to sit on top of the cake....sadly later during delivery his leg broke into pieces...........but I still sit them on top of the cake as I worked too hard not to put them on. I also made the mistake to cover the freshly covered cake with kitchen foil which later stuck to the cream and left some marks, but nobody complained about this:) 

Ultimate Chocolate Cake


For the sponge
220 g good quality dark chocolate, about 60% cocoa solids
220 g butter
1 tbsp instant coffee ganules
95 g self-raising flour
95 g plain flour
1/2 tsp bicarbonate of soda
220 g light muscovado sugar
200 g golden caster sugar
30 g cocoa powder
4 medium eggs
85 ml buttermilk (5tbsp)

For the cream
500g mascarpone
200 g good quality dark chocolate, about 60% cocoa solids
3-4 tbsp hazelnut liqueur

To decorate
50 g chocolate for chocolate curls 

Preheat the oven to 160C and line a 19X25 cm rectangle tin with baking paper.
Break the dark chocolate in pieces into a medium, heavy based pan. Cut the butter into pieces and tip in with the chocolate, then mix 1 tbsp instant coffee granules into 125 ml cold water and pour into the pan. Warm through over a low heat just until everything is melted - don't overheat.

While the chocolate is melting, mix the self raising flour, plain flour, bicarbonate of soda, light muscovado sugar, golden caster sugar and cocoa powder in a big bowl, mixing with your hands to get rid of any lumps. Beat the eggs in a bowl and stir in the buttermilk.

Now pour the melted chocolate mixture and egg mixture into the flour mixture, stirring just until everything is well blended and you have a smooth, quite runny consistency. Pour this into the tin and bake for 1 hour 25 -1 hour 30 minutes - if you push a skewer in the middle it should come out clean and the top should feel firm. 

Leave it to cool in the tin, then turn out onto a wire rack to cool completely.

When the cake is cold, cut it horizontally into three. Make the cream:mixing the mascarpone with the melted but slightly cooled chocolate and the hazelnut liqueur.


Sandwich the layers together with the mascarpone cream but leave enough cream to cover the outside of the cake with a palette knife.

Decorate with chocolate curls: melt 50 g of dark chocolate and spread it on a sooth chopping board. Pop it to the freezer for 10 minutes so the chocolate  hardens, then with a long bladed sharp knife start shaving curls of the surface. It doesn't have to be precise, the more shape and size you have is the better.

The cake keeps moist and gooey for 3-4 days......haha it took 30 minutes for the office staff to demolish the whole cake:)